文章引用:https://linux.do/t/topic/160633
部署方式
使用 docker、本地搭建,Vscode、JetBrains 等,Chat、代码补全都正常使用
克隆项目
git clone https://github.com/linux-do/override.git
docker compose
配置文件路径:我的位置是
/data/override/config.json
将 Override 配置写入文件中
vim /data/override/config.json修改docker-compose.yaml 的配置文件路径
services: override-app: image: linux-do/override:latest container_name: override-app restart: always build: context: . dockerfile: Dockerfile volumes: - /data/override/config.json:/app/config.json ports: "8181:8181"部署项目
docker compose up -d

docker compose ps
本地编译
支持所有平台 (Windows、Linux、Mac),下面使用Windows说明
- 准备工作,系统需要安装 golang >= 1.21 (低于该版本需要修改 go.mod)
- 克隆
override到本地 - 编译
overridecd override go mod tidy go build . - 编译完成后,会在override目录下生成一个可执行文件
override.exe - 新建配置文件
config.json,放在override目录下 - 双击启动 override.exe 即可
Override 配置
auth_token 貌似有些问题,请求为404。有成功的大佬可以留言帮助一下我。
{
 "bind": "0.0.0.0:8181",
 "proxy_url": "",
 "timeout": 600,
 "codex_api_base": "https://api.deepseek.com/beta/v1",
 "codex_api_key": "sk-xxxx",
 "codex_api_organization": "",
 "codex_api_project": "",
 "codex_max_tokens": 500,
 "code_instruct_model": "deepseek-coder",
 "chat_api_base": "https://api.deepseek.com/beta/v1",
 "chat_api_key": "sk-xxx",
 "chat_api_organization": "",
 "chat_api_project": "",
 "chat_max_tokens": 4096,
 "chat_model_default": "deepseek-coder",
 "chat_model_map": {},
 "chat_locale": "zh_CN",
 "auth_token": ""
}
Vscode Copilot配置
"github.copilot.advanced": {
"debug.overrideCAPIUrl": "http://ip:端口/v1",
"debug.overrideProxyUrl": "http://ip:端口",
"debug.chatOverrideProxyUrl": "http://ip:端口/v1/chat/completions",
"authProvider": "github-enterprise"
},
"github-enterprise.uri": "https://cocopilot.org",JetBrains 注意事项
注意:Github Copilot 插件版本为 <=1.5.8.5775
方式一:ja-netfilter 配合 env.jar 插件替换环境变量(推荐)
env.conf 配置如下:
[ENV]
PREFIX,AGENT_DEBUG_OVERRIDE_CAPI_URL=http://你的ip:8181/v1
PREFIX,AGENT_DEBUG_OVERRIDE_PROXY_URL=http://你的ip:8181
PREFIX,GITHUB_COPILOT_OVERRIDE_CAPI_URL=http://你的ip:8181/v1
PREFIX,GITHUB_COPILOT_OVERRIDE_PROXY_URL=http://你的ip:8181
方式二:脚本替换环境变量(不推荐)

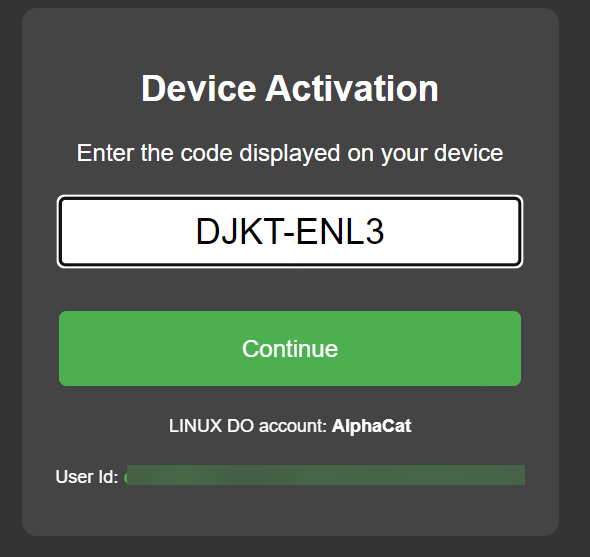
3. 登录Copilot插件:

复制并访问Github

浏览器中直接粘贴刚刚的代码

点击Continue即可跳转Linux Do的授权页面,点击授权就可以登录成功。
同样的,Copilot Chat 插件也会自动提示,再按照上面的步骤登录一遍即可。然后就可以和你的DeepSeek愉快的玩耍了。


